May 2023
Imagemagick is a powerful tool to manipulate images on the command line. It can do things like add a border, crop an image, or convert an image from one format to another. But because it has so many features, it's difficult to figure out how to do the thing you want to do.
Here are some things I've done with it, for my own reference. Maybe it's useful to you too.
Most of these examples use this image for an input. It's a 400 by 400 pixel version of my logo on a green background.
![]()
Convert an image between formats
Resize an image
Resize an image! The -resize argument resizes an image – in this example, to 100 by 200 pixels.
magick logo.png -resize 100x200 resized-1.png
Wait, that isn't 100 by 200 pixels! The command resized it to 100 by 100 instead. Why is that?
It turns out the 100x200 argument is a geometry argument. 100x200 means "Maximum values of height and width given, aspect ratio preserved". So the width is a maximum of 100 pixels, and since the aspect ratio is kept as 1:1 (the same as the original image) the height also is forced to be 100 pixels.
To force the resize to the exact size given, pass an 100x200! geometry argument:
magick logo.png -resize 100x200! resized-2.png
To preserve the aspect ratio, pass only one of the width x height arguments. This results in a 200 by 200 pixel image.
magick logo.png -resize x200 resized-3.png
Or even make each direction 50% smaller! Because logo.png was 400 by 400 pixels, this also results in a 200 by 200 pixel image.
magick logo.png -resize 50% resized-4.png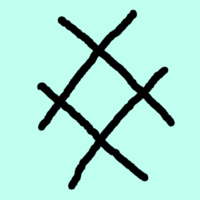
For more information about specifying the size, read about the geometry argument.
Add a border
In most documents, images look way better with a border. For example, a grey 5 pixel border:
magick logo.png -bordercolor grey -border 5 bordered.png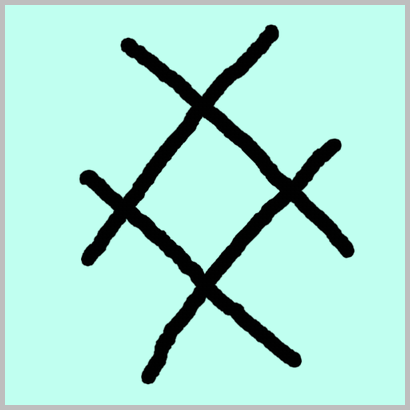
Crop an image
There are several options to crop an image, removing from its edges.
Crop, well, crops an image, but in a croppy crappy way. Its arguments are the size of the image you want to save. I almost always find it more intuitive tell how much to remove instead, like "trim 100px off the left". It seems designed more for editing images down to a specific size.
To crop to a 100 by 200 pixel image starting at the 10th pixel from the left, 20th pixel down:
magick logo.png -crop 100x200+10+20 cropped-1.png
The frustrating part with this is that to take another pixel off the left, you have to both change the offset (for determining how many pixels on the left to remove), but also the size, because you don't want to cut less from the right side. To cut one more pixel off the left:
magick logo.png -crop 99x200+11+20 cropped-2.png
This is more complicated than it should be to move one pixel over – you have to calculate the new width as well as specify the starting pixel. Instead, shave removes the same size from the top and bottom of an image, and the same size from the left and right. To remove 30 pixels from the left and right, and 100 from the top and bottom:
magick logo.png -shave 30x100 cropped-3.png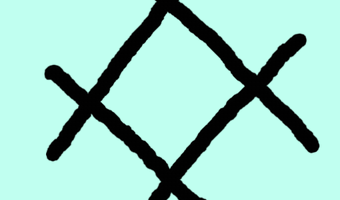
This, too, isn't quite what I want. Usually, I want to specify different offsets for the left and right side. Or different offsets for the top and bottom. But, as far as I'm aware, you can't. I wish you could.
Also, the geometry argument is somewhat complicated – if you just want to make the image shorter, setting the geometry argument to 100x results in width / 100 images, each 100 pixels wide. This is not what I would want. Instead, set the geometry to 100x+0+0. Why does this work? I have no idea.
A warning about cropping
Sometimes, you need to add +repage when cropping. I don't really know when. It's definitely not always, as the documentation suggests. None of the examples here use it.
Add a background to a transparent image
I used this to create the image at the top of this page that's used as the base for all of these images, starting with a transparent version of my logo.
![]()
We'll use the -alpha remove option to remove the transparency. This causes the transparent channel of the image to be replaced with the background color, so we previously need to set the background color to what we want.
magick logo-transparent.png -background red -alpha remove with-background.png
Move an image around
Sometimes, we want to shift an image, moving it around. We can do that with the -page option. This will move the image as specified by another geometry argument. We also have to add -layers flatten, as that will use the current background color, create a canvas the size of the image, and crop out anything outside of that canvas. Or something. I won't pretend to completely understand how it works without flattening, but it's required.
magick infile.png -page +100 -layers flatten logo-moved.png![]()
I used this method to make a bunch of pngs for the next example.
Animate a gif
Let's make an animated gif! Assume we have a folder with a series of png files. We want to combine them into one gif.
magick -delay 10 -loop 0 *.png animated-logo.gif![]()
The -delay argument is in hundredths of a second, not milliseconds. This seems a little silly, but who ever let that stop them? Apparently this follows from the gif spec.
Passing -loop 0 means to loop forever.
Odd different difference between convert, magick, etc
Imagemagick has both magick and convert commands, along with many others. It's not well-documented, but my understanding is that using the magick version is preferable.